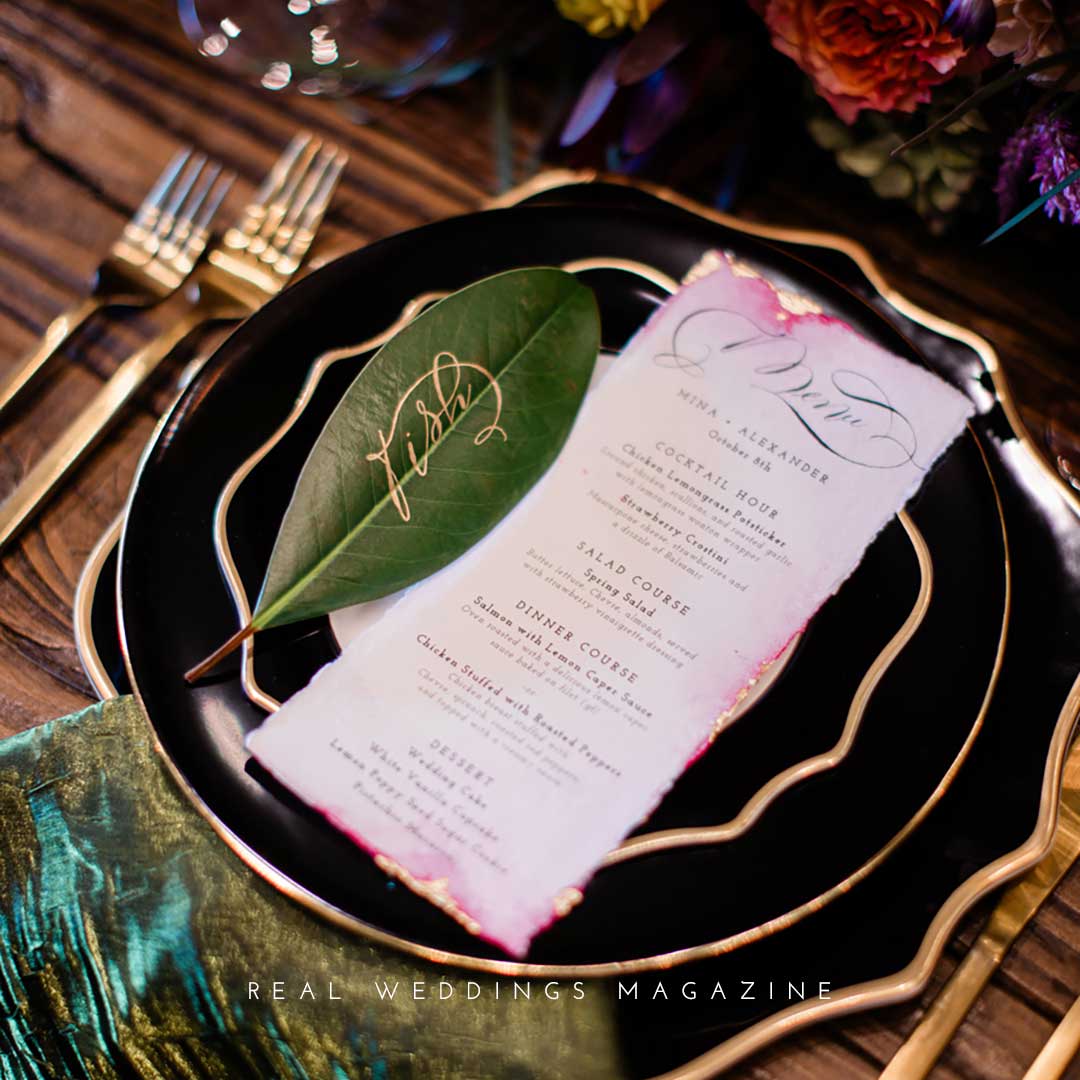
TAKE ON BOLD, new tablescapes with botanical leaves for an unexpected twist. Featured in Crazy in Love (Real Weddings Magazine), botanical name cards made with real leaves offer a beautiful and sustainable way to personalize weddings, dinner parties, or any special occasion. The process is simple yet results in a luxurious, earthy charm that’s sure to impress.
In this guide, I’ll show you how to create stunning name cards using real leaves and gold ink, with step-by-step instructions, the right tools, and pro tips to help you achieve a flawless, one-of-a-kind look.
![]() A botanical affair,
A botanical affair,


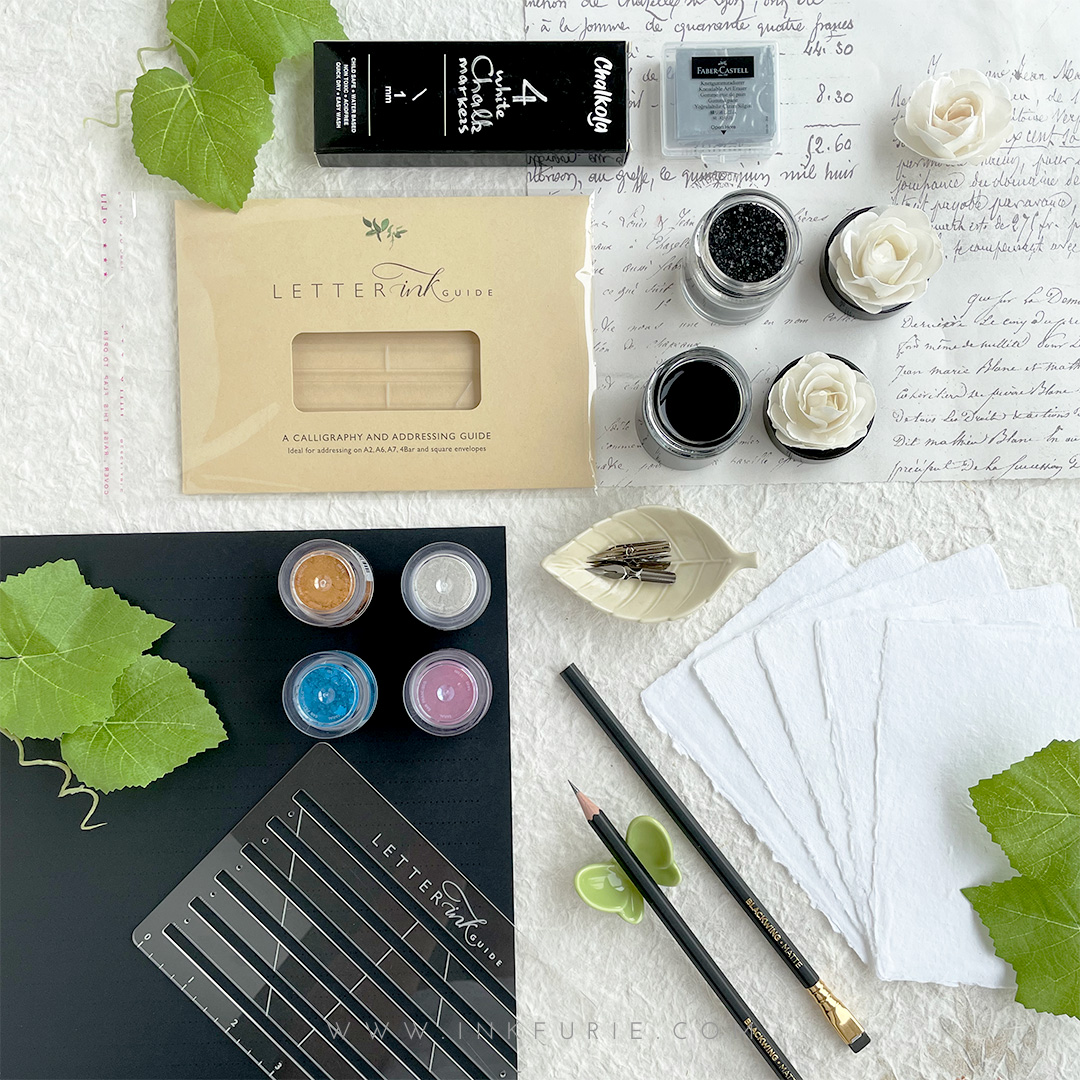
TOOLS
To begin, you’ll need a few items:
- Magnolia leaves–as featured (or any large smooth leaves)
- ZEYAR Liquid Gold Chrome Paint Marker 0.7mm (or any fine-tip gold pen)
- Rubbing alcohol (any isopropyl alcohol)
3-STEP GUIDE TO CREATE BOLD BOTANICAL NAME CARDS
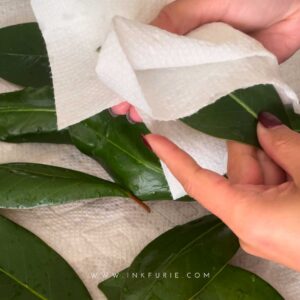
1. Choose and Prepare Leaves: For the styled shoot, I used Magnolia leaves for the place-setting name cards, but any leaves with a flat, smooth surface will work well. Gently rinse them or wipe them with a soft cloth to remove any dust and debris. If the leaves have long stems, place them in water to help keep them fresh longer.
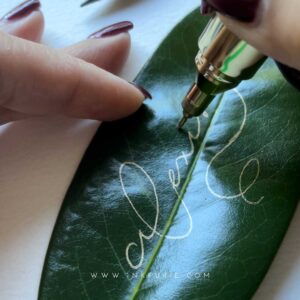
2. Write Name with Gold Ink: Using a fine-tipped gold paint pen, carefully write the guest’s name on the leaves. You can choose a calligraphy style for a more elegant look, or opt for a minimalist printed style, depending on your aesthetic. The gold ink will create a striking contrast against the green leaves, adding a touch of luxury.

3. Final Touches: Once the ink is dry, inspect the name cards for any imperfections. If needed, you can use rubbing alcohol to remove any mistakes and apply touch-ups as necessary. Keep in mind that not all gold ink can be removed with rubbing alcohol, so be sure to test it first. For instance, the ZEYAR paint pen is semi-permanent and can be removed, while others like the Sakura Pen-Touch are highly permanent. 😅
PRO TIPS FOR A FLAWLESS FINISH
- Choose the Right Leaves: Select leaves that are the right size for your name cards. Larger leaves are ideal for a dramatic and bold look, while smaller leaves work best for more intimate place-setting name cards.
- Storage: Keeping fresh leaves in good condition can be tricky. To maintain their vibrant appearance, store them in a cool, dry place—such as a cooler or fridge.
- Use the Midrib as a Guide: The midrib, the thick central vein running down the leaf, can help you center and align the guest’s name perfectly.
- Experiment with Ink Colors: While gold is timeless and elegant, feel free to experiment with other ink colors, like silver or copper, for a unique twist.
- Allow for Proper Drying Time: Be patient and let everything dry completely to prevent accidentally smearing ink.
With minimal effort and a little creativity, you can craft name cards that are not only eco-friendly but also full of personality and charm. The combination of real leaves and gold ink makes for a stunning and memorable addition to your table settings, guaranteed to impress your guests.