PSST…I’LL LET you in on a little secret: I keep a dedicated gift list for my husband! Finding the perfect gift for him is incredibly challenging. I always try to give thoughtful trinkets that make him smile, and resonate deeply with his values and experiences. With each gift, while the real treasure lies inside, my goal is to wrap it with so much love and effort that he hesitates to unwrap it—after all, I married a stylish man and a touch of flair never goes amiss!
This holiday season, what better way to elevate your presents than with custom-made Christmas wrapping paper? In this blog, I’ll share the steps to create your own wrapping paper, along with festive finishing touches that will make your presents sparkle beneath the tree.
![]() With festive flair,
With festive flair,


TOOLS
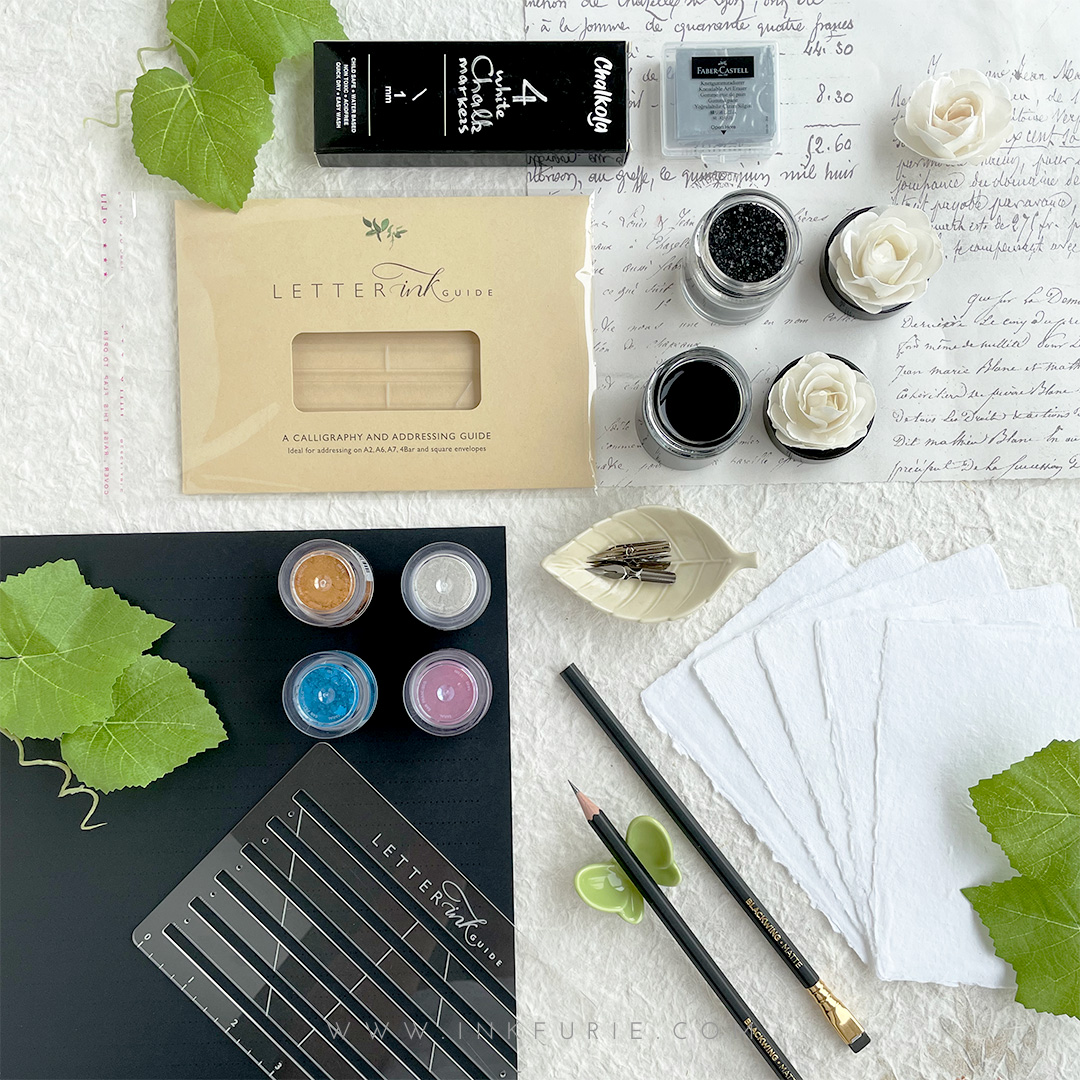
To begin, you’ll need a few items:
- Free 18×24” design ratio layout
- Kraft wrapping paper (or any plain wrapping paper)
- Dr. Ph. Martin’s Bleedproof White Fine Art Paint (or colored ink pens and markers)
- Holder: Hourglass Adjustable Oblique Or Speedball Oblique (budget-friendly)
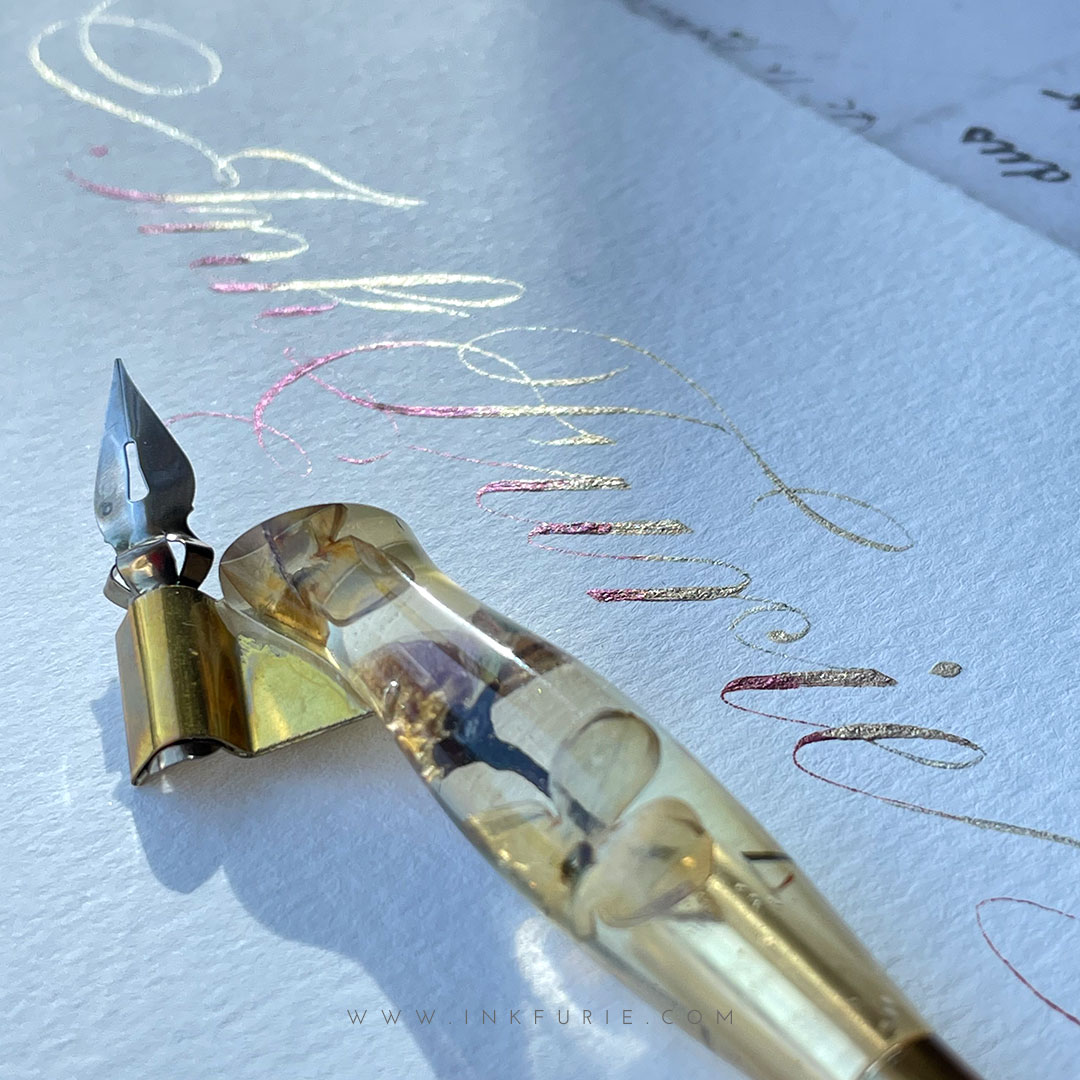
- Nibs: Nikko G, Brause Steno 361, Hunt 101, or Hunt 22B (a favorite!)
- Ruler (24 inch for larger pieces)
- Laser guide
- Pencil
- Eraser
- Tape (or any adhesive)
Optional items for styling:
- Ribbon
- Twine
- Sprig of green
STEPS TO CREATE CUSTOM CALLIGRAPHED CHRISTMAS WRAPPING PAPER
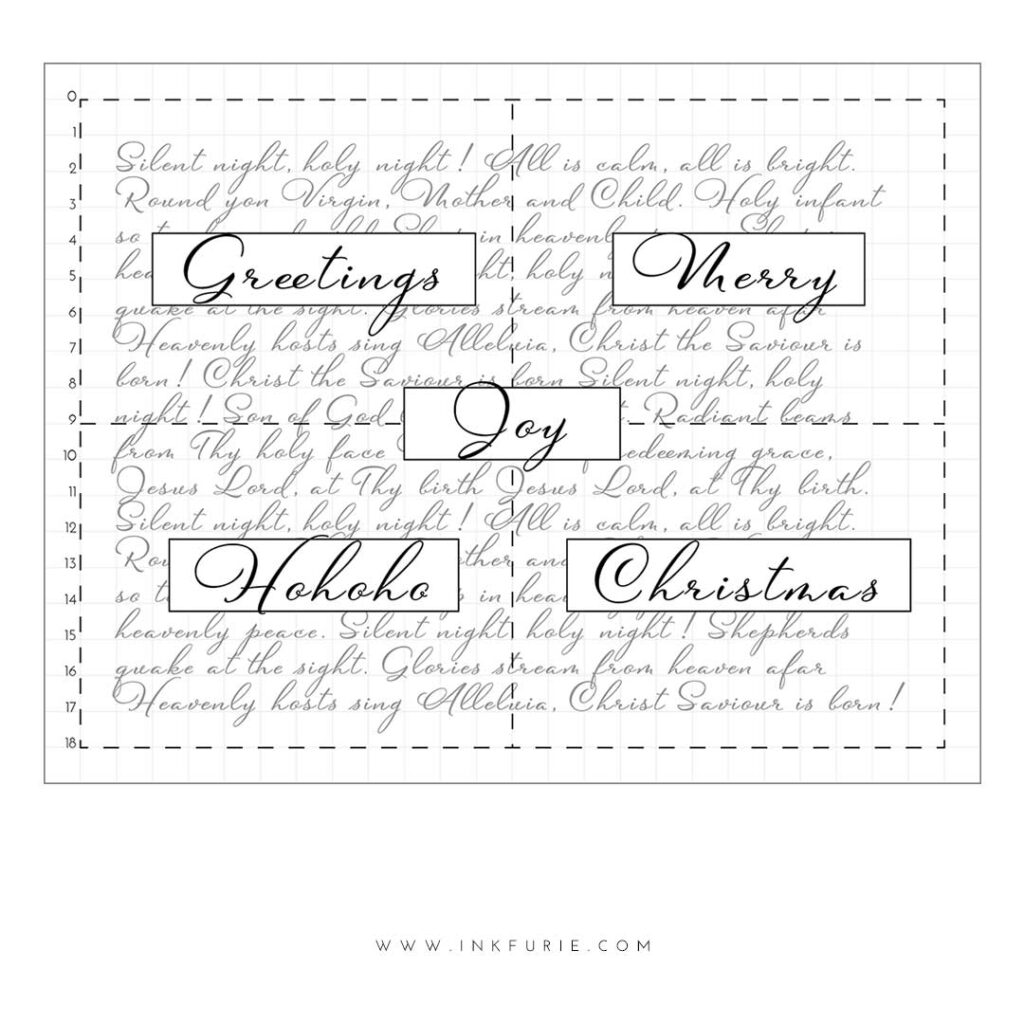
1. PlanYour Design: Decide on the orientation and spacing to ensure everything fits nicely. Lightly sketch your layout with a pencil, considering phrases, patterns, or illustrations. Alternatively, you can download my free 18×24-inch ratio layout, which features mixed typography and a passage from “Silent Night” with varying text sizes for emphasis and interest. If you’re new to hand lettering, keep it simple—even basic scripts can look beautiful!
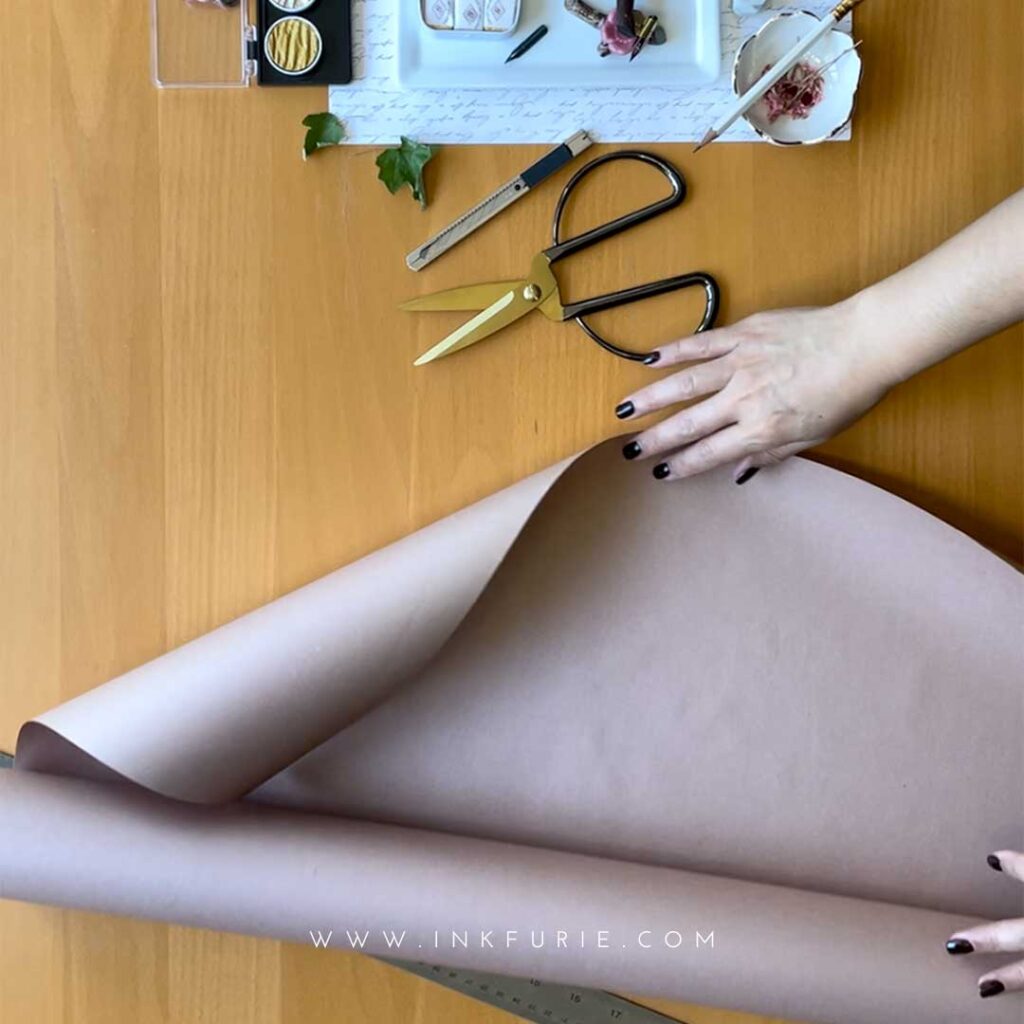
2. Measure and Cut Paper: Trim the wrapping paper to the desired size for your gift. If you’re unsure of the dimensions of your gift box—something I often encounter—it’s best to err on the side of caution and go larger. For this tutorial, I’m using dimensions of 18×24 inches.
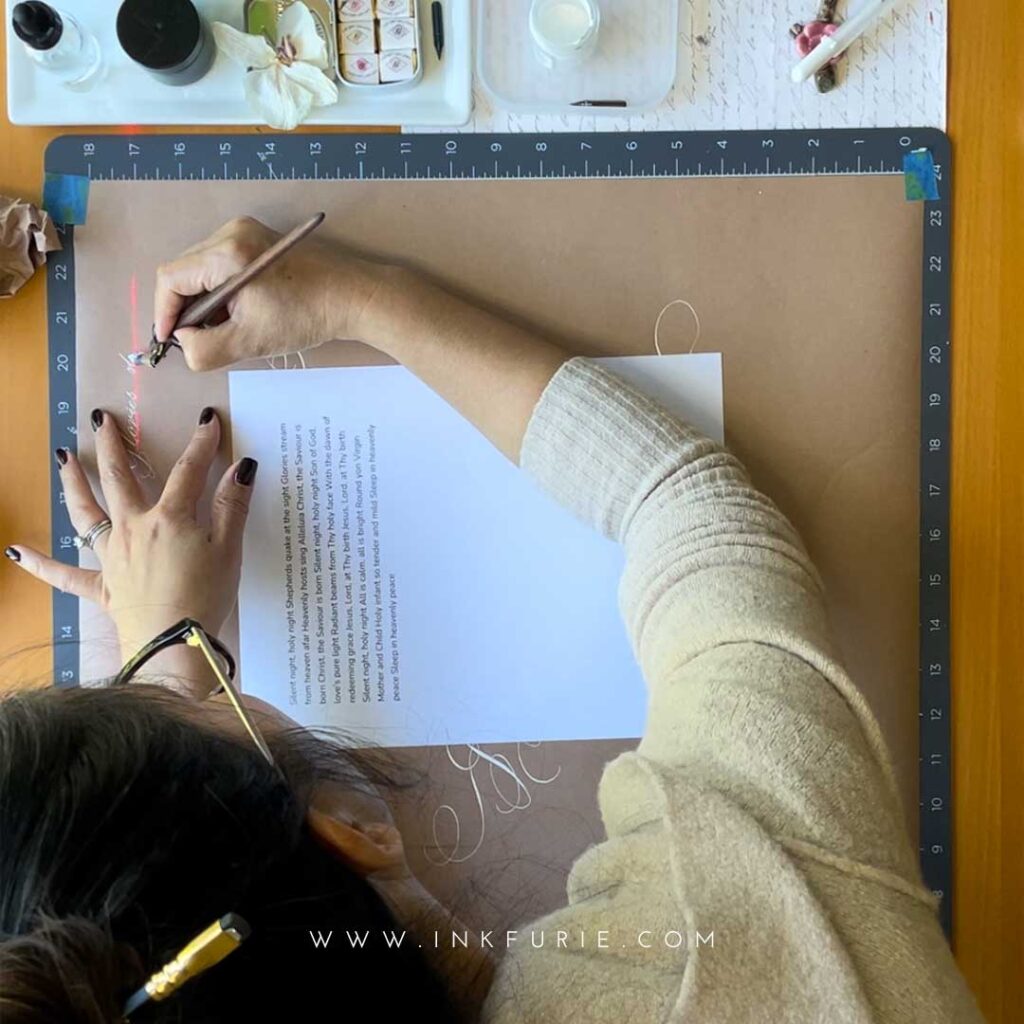
3. Script Your Message: Choose your writing tools and ink colors, then begin tracing your pencil sketch. To keep longer passages straight, you can draw guidelines directly on the wrapping paper or use a laser guide, eliminating the need to erase pencil marks later and saving you a step!
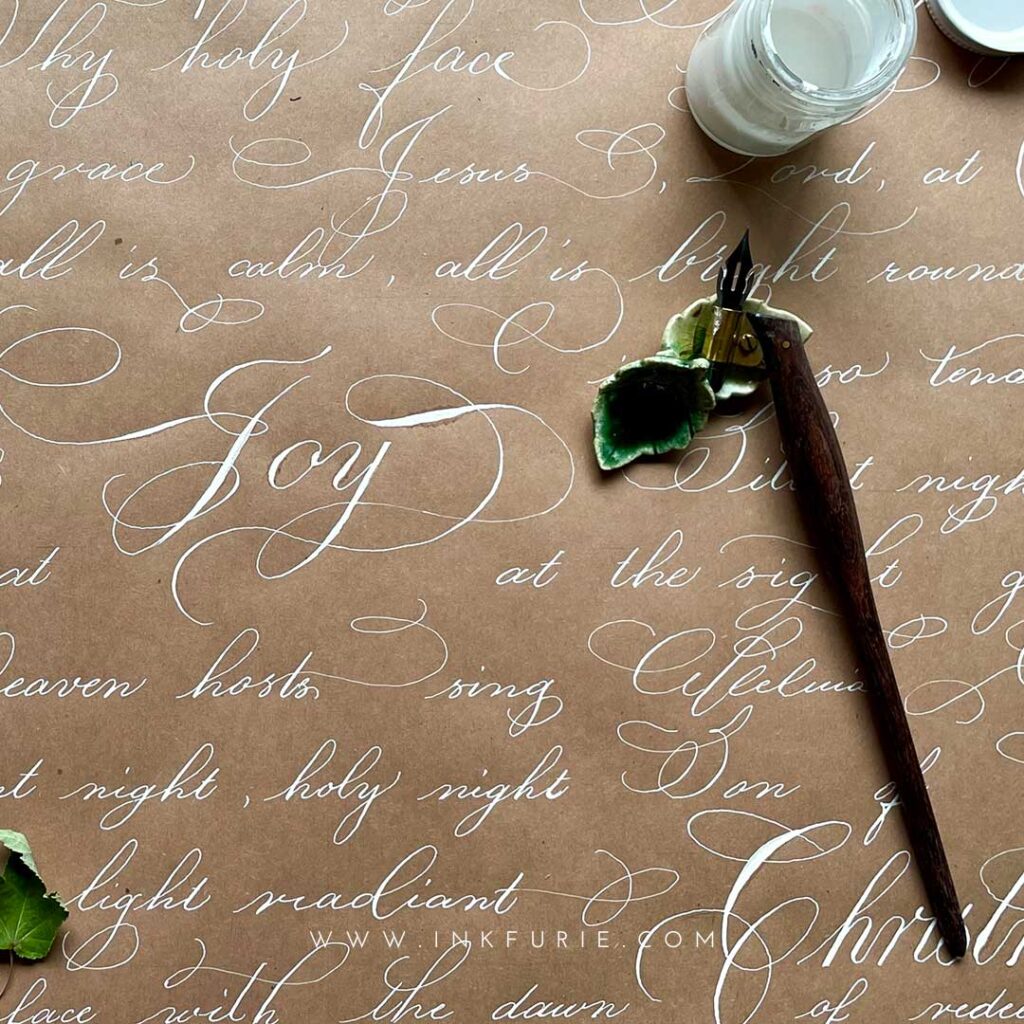
4. Let It Dry: I know it can be tempting to start wrapping right away. A smudged look can be stylish with its graffiti effect. However, if that is not your intention, it’s best to allow the ink to dry for about 24 hours. Once it’s completely dry, gently use an eraser to remove any visible pencil sketches and guidelines that haven’t been covered by ink. Don’t worry about erasing your final ink color; I find that white ink, like Bleedproof White, is quite durable and withstands erasing pressure well. However, if you’re concerned, it’s always a good idea to test on a small area first.
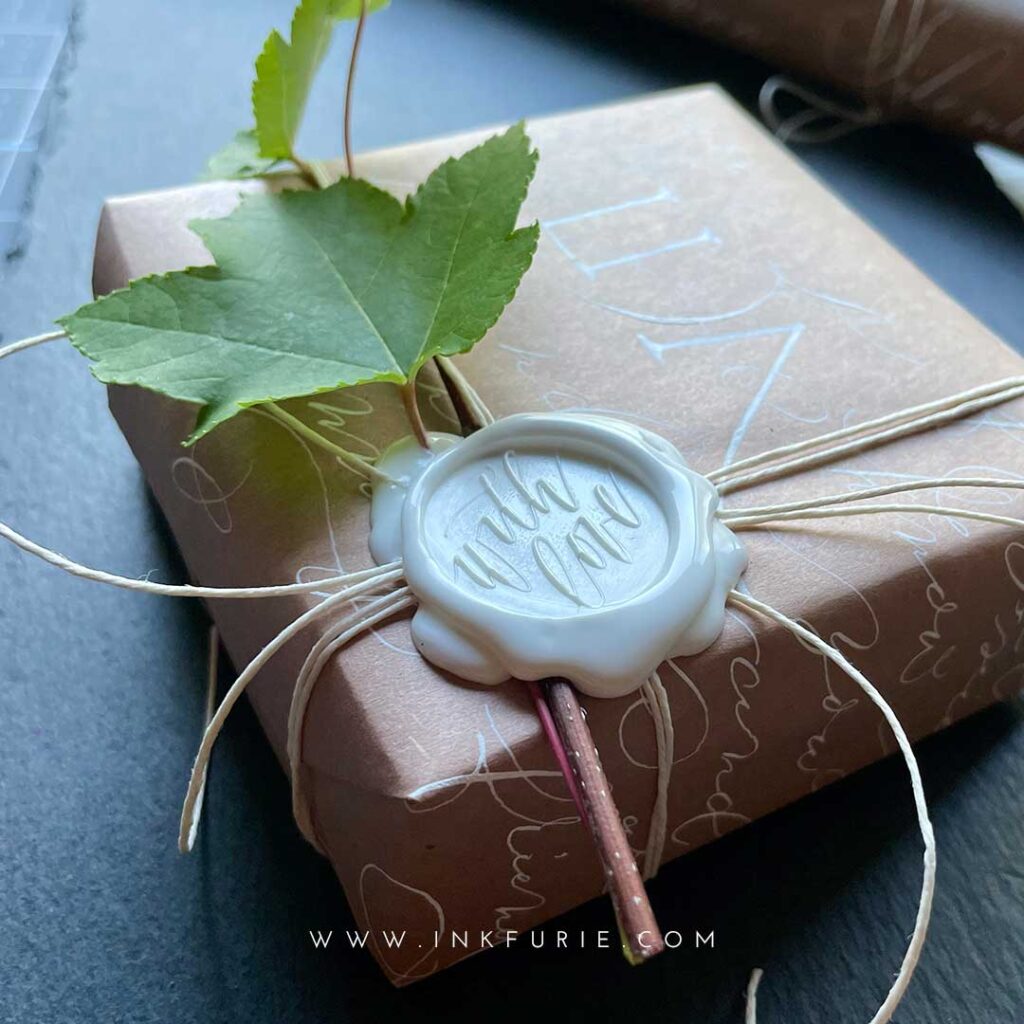
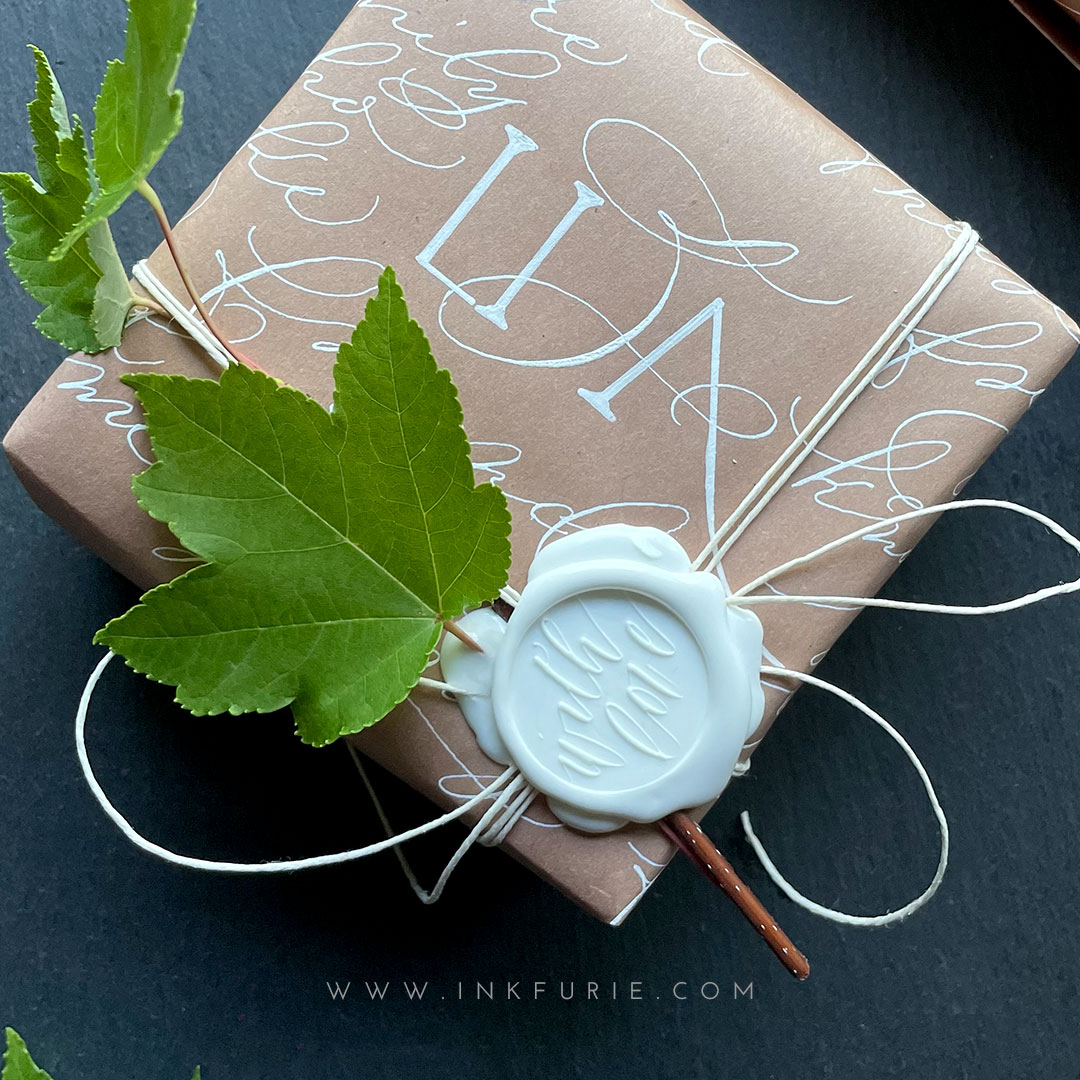
5. Wrap and Style Gift: Once the ink is dry, carefully wrap your gift, using tape or adhesive to secure it. Add your finishing touches, such as a wax seal, matching ribbon, or fresh foliage. These little details are a fun way to infuse your unique style into your gift presentation.




I love love love your work! And I really love this gift paper idea. I’ve done my own gift paper before . But I really love this one you did . I’m definitely going to try it ! ❤️. Thanks for sharing your work with us !
Hi Stayce, I’m thrilled to hear you’ll try this project! Thank you for your kind feedback. And, I love that you did your own gift wrapping paper before–I’m sure it was the perfect touch to all your gifts. 💖