OCTOBER ALWAYS BRINGS me joy. As I happily crunch leaves underfoot, the sky reveals a tapestry of rich, warm colors that evokes the season’s festive charm. It’s a time when nature invites both wonder and reflection, filling my heart with nostalgia.
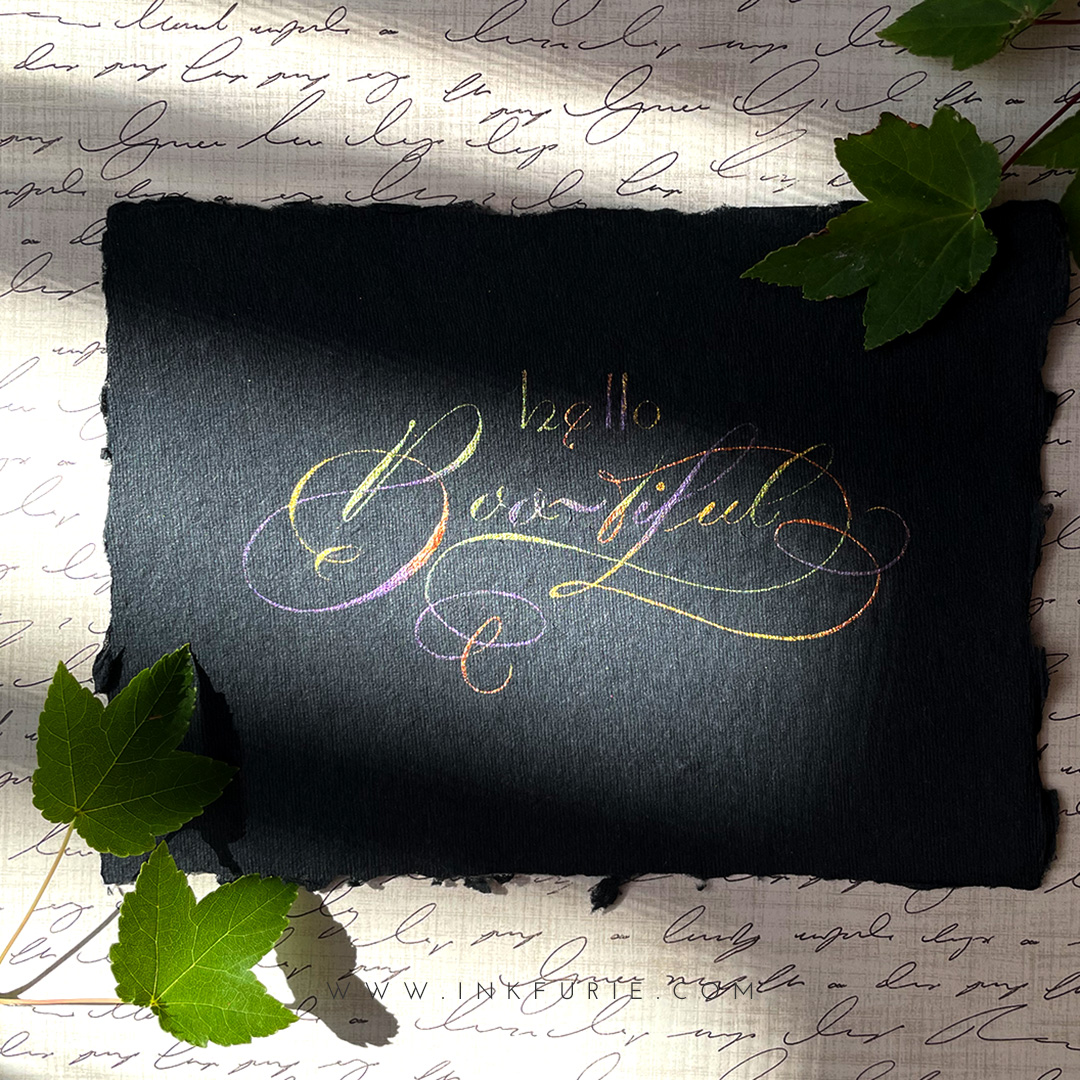
When crafting Halloween palettes for calligraphy, I embrace vibrant oranges that echo the spirit of jack-o’-lanterns, paired with deep jewel tones and bold blacks for a touch of mystery. To further explore this idea, I’ve designed a few palettes and a “Hello Boo-tiful” calligraphy template. Follow my simple steps to bring your letters to life, or use them as inspiration to create your own enchanting cards.
Let me know in the comments which of my palettes you like the least/most, or your favorite combination I need to try!
![]() With wicked whimsy,
With wicked whimsy,

TOOLS
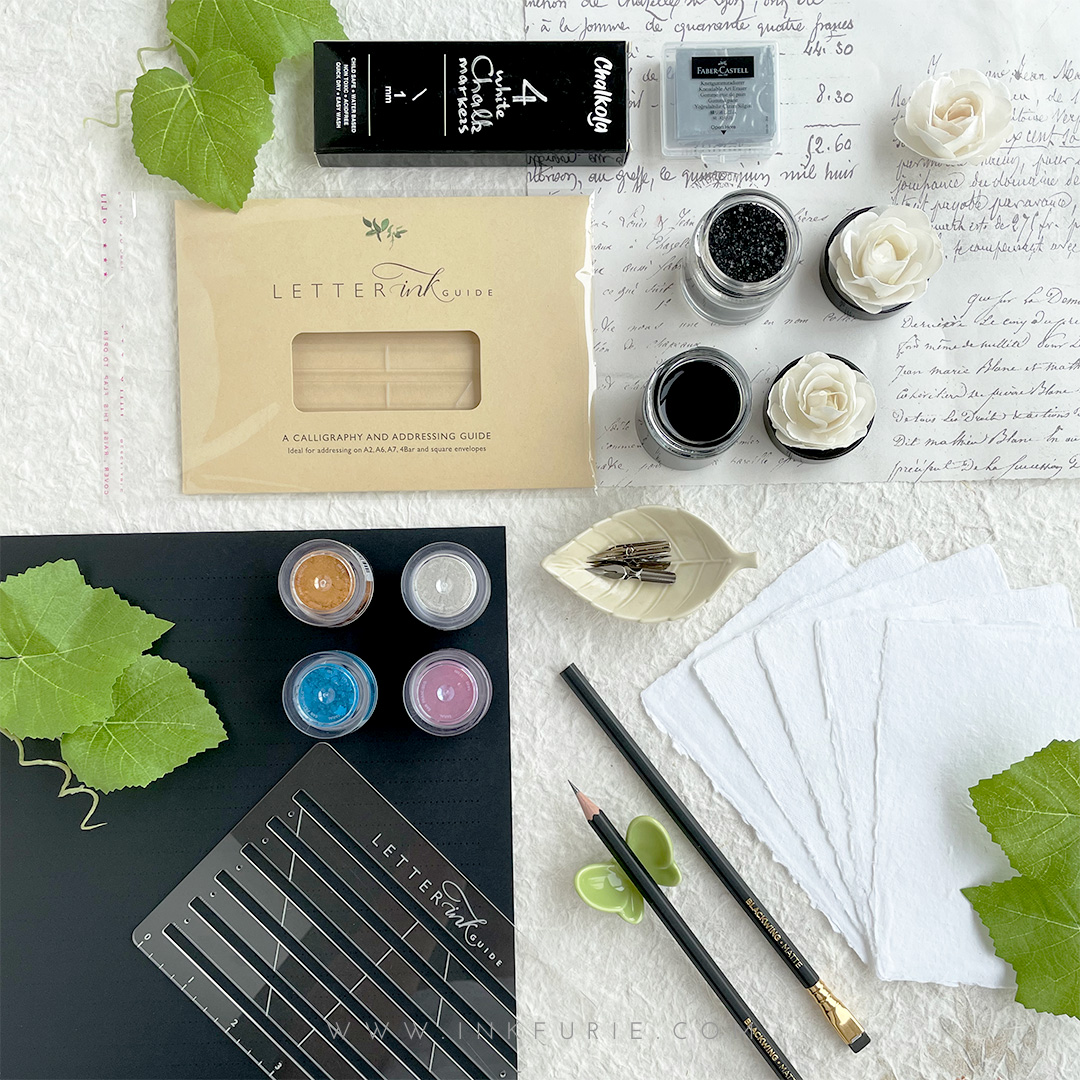
To begin, you’ll need a few items:
- Free “Hello Boo-tiful” calligraphy featuring Iris Script (or your own design)
- Black handmade paper (or any suitable note card stock)
- Tracing paper (or vellum for a sturdier option)
- Holder: Hourglass Adjustable Oblique Or Speedball Oblique (budget-friendly)
- Nibs: Nikko G, Brause Steno 361, Hunt 101, or Hunt 22B (a favorite!)
- Coliro Watercolor Paint (or water-based color)

STEPS TO ADD HALLOWEEN PALETTES TO CALLIGRAPHY

1. Design Calligraphy
- Download the free printable “Hello Boo-tiful” calligraphy design or create your own.
- Ensure strokes and flourishes offer plenty of opportunities to apply colors.
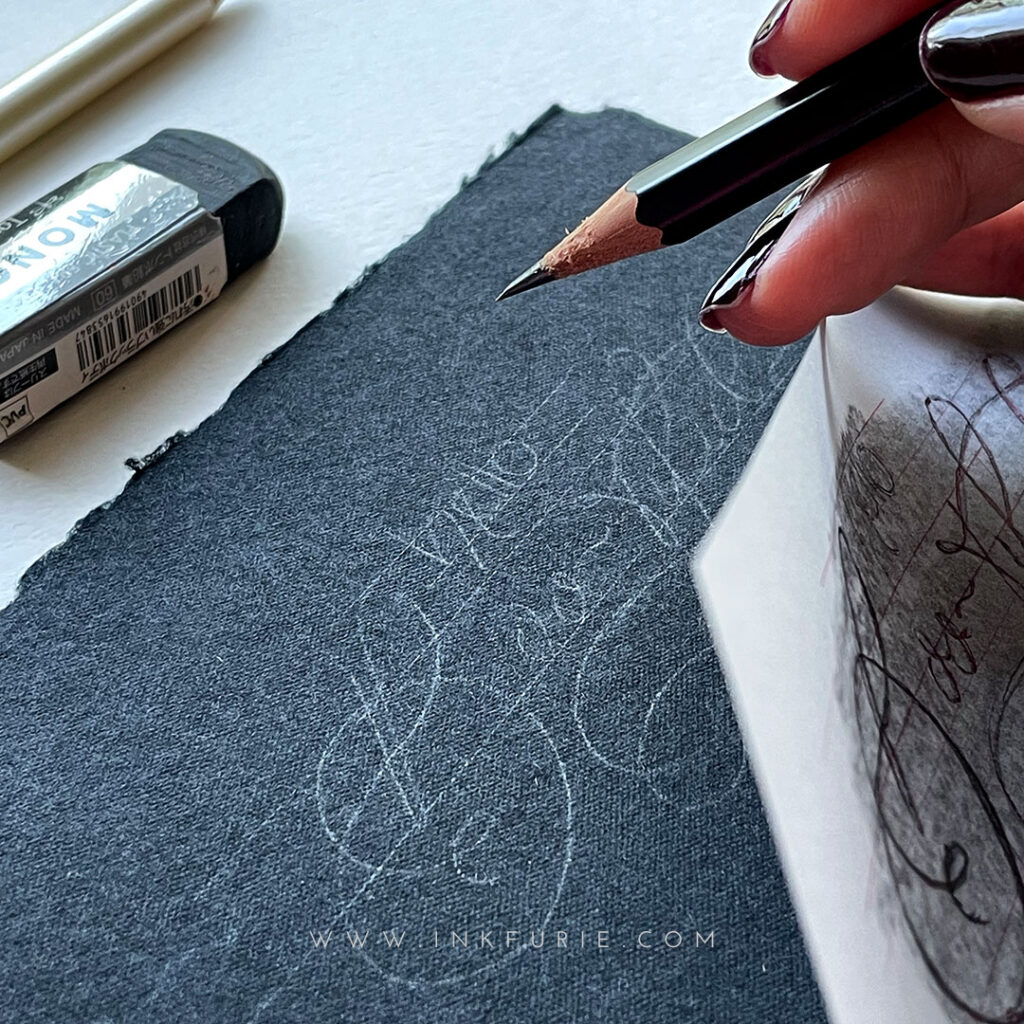
2. Transfer Calligraphy Design to Card
- To transfer designs onto black paper, I recommend printing your calligraphy on tracing paper first. Then, turn the tracing paper upside down and apply a generous amount of graphite on the back, covering the design. Flip the tracing paper right-side-up and place it where you want the design on the black paper. Use a ballpoint pen to trace over the design; the pressure will transfer the graphite to the black paper. (And don’t worry about getting black fingers—they’re the best kind! 😛)
- To transfer designs onto white paper, I prefer using a lightpad or window to trace the calligraphy design to the card.
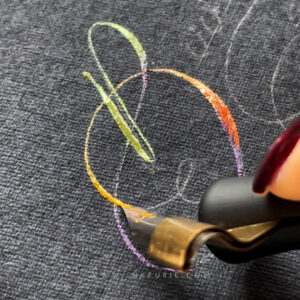
3. Apply Colors to Calligraphy
- A little planning goes a long way when blending colors. Think about which colors to use and mentally (or physically) map out where to apply them to your calligraphy.
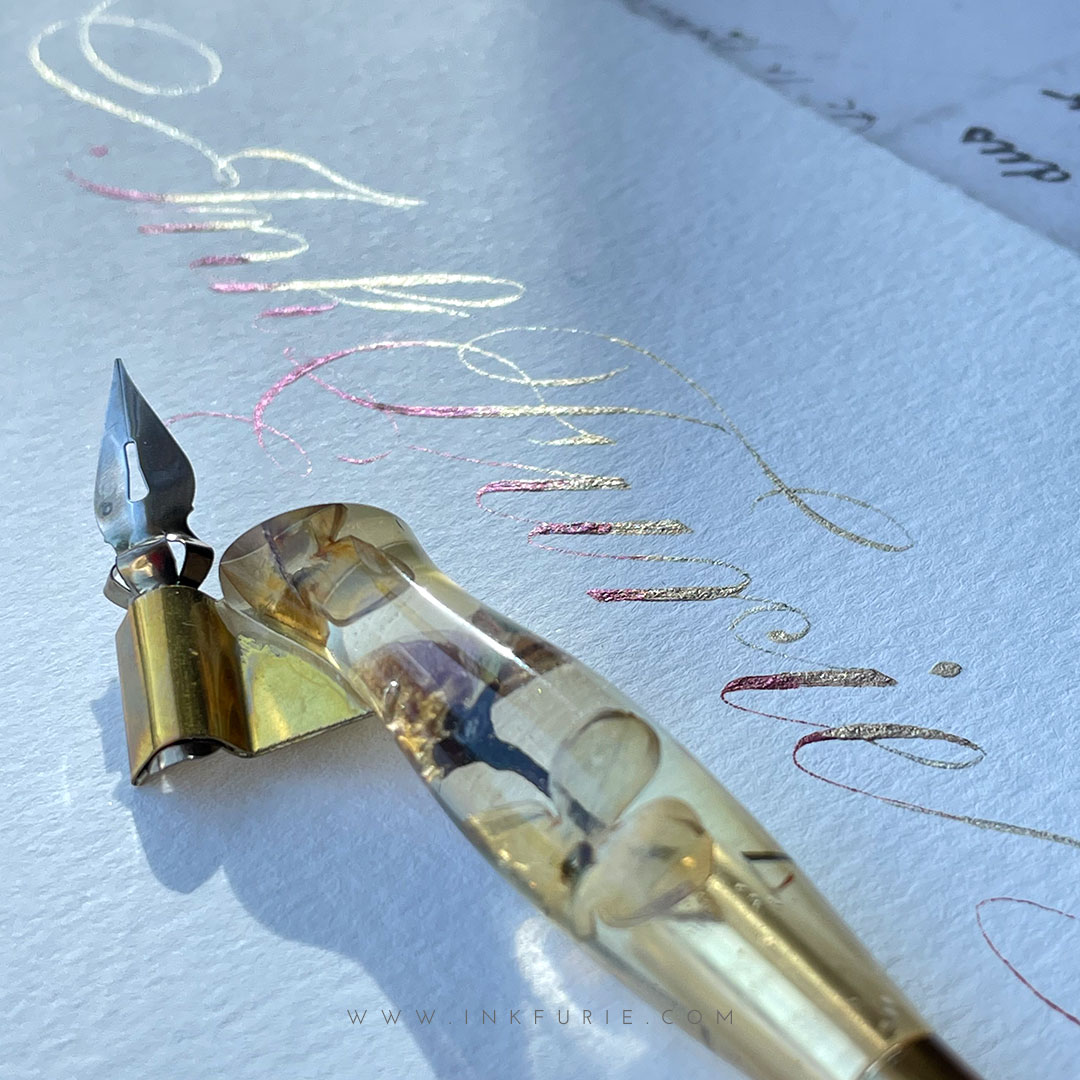
- Using a calligraphy holder and nib, add your chosen color to the nib, and begin scripting along the sketch.
- Be patient and take your time when switching between colors. Clean the nib between colors for distinct colors, or mix colors on the nib for a blended effect.
- It’s perfectly okay to touch-up your calligraphy. This is a great opportunity to harmonize a palette, adjusting any colors you used too little or not much. Most importantly, enjoy the process and see where it takes you!

TRENDY PALETTES FOR A SPOOKTACULAR HALLOWEEN
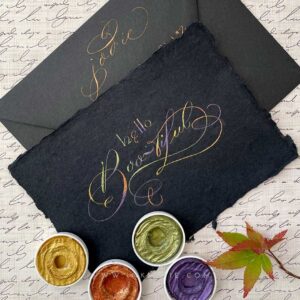
Hocus Pocus Hues
- Coliro Colors: Apple Green, Golden Orange, Deep Purple, Arabic Gold
- How to Apply: This palette is the easiest to blend because there are absolutely no rules—woohoo! But wait, that also makes it the hardest because, well, chaos. Simply apply the colors organically, remembering to keep the amount of each color visually equal. And don’t forget my golden rule: Enjoy the process and see where it takes you!
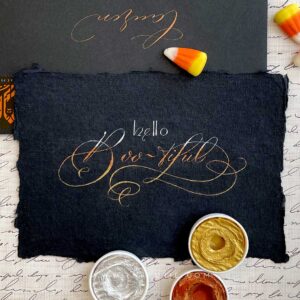
Candy Corn Spectrum
- Coliro Colors: Stardust, Golden Orange, Arabic Gold
- How to Apply: Visually divide calligraphy into three horizontal rows. Apply Stardust to the top row, Golden Orange to the middle row, and Arabic Gold to the bottom row. The transition between colors is minimal, for a greater distinction between colors.
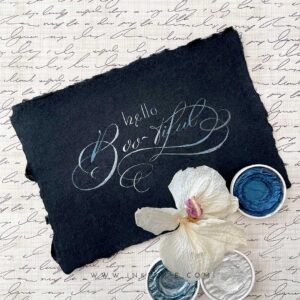
Be-“Ware” of the Full Moon
- Coliro Colors: Stardust, Sky Blue, Midnight Blue, Dark Star (not shown)
- How to Apply: Apply colors in a concentric circle, with the lightest color in the center and the darkest color on the outside.
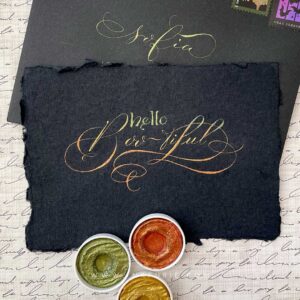
Pumpkin Spiced Blend
- Coliro Colors: Moss Green, Arabic Gold, Golden Orange
- How to Apply: Gradually blend green to gold to orange vertically.

